Rationale: A major application is quite old and is very database heavy in its testing, and is unfeasible for it to be changed.
This has made the testing of this application quite cumbersome - involving a script to pull the structure of all tables,
and certain other data tables (where it’s too tricky for it to be a static fixture data file) prior to running the test suite. Extracting this data to sqlite database too is a
possibility but might cause different issues.
The framework has a plugin which can load fixture data from a database table, which is ideal for the applications use-case.
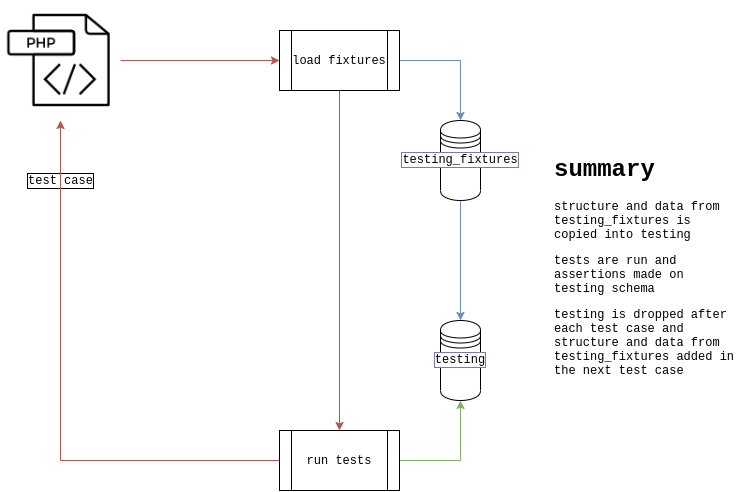
The framework does all its testing in a schema called testing.
The test cases setUpBeforeClass will behind-the-scenes copy any structure from fixtures (from the testing_fixtures schema) and populate from testing_fixtures if configured, else from a csv, or no data.
A script, possibly something like this which will use mysqldump to dump structure of schemas, and certain tables data for import later. This will create an output file, crm.sql.
This whole process of building the crm.sql file and the docker image might be best done inside a lambda/serverless part of infrastructure where the database is being hosted, but that’s too out of scope for this humble tutorial.
Building the new image with the structure is pretty easy once this file has been generated.
The Dockerfile could look something like below.
DockerfileDbCi:
FROM mysql:5.7
COPY crm.sql /tmp/crm.sql
RUN touch /tmp/crm-header.sql \
 && echo 'create schema if not exists testing;' > /tmp/crm-header.sql \
 && echo 'create schema if not exists testing_fixtures;' > /tmp/crm-header.sql \
 && echo 'use testing_fixtures;' >> /tmp/crm-header.sql \
 && cat /tmp/crm-header.sql /tmp/crm.sql > /docker-entrypoint-initdb.d/crm.sql
testingisdropped andcreated in the frameworks testing runnertesting_fixturesis pretty much a read-only holding area, the frameworks testing runner will use this as a reference for structure and data for each test caseuse testing_fixtures;since the dump script doesn’t have any awareness of that
I found this answer helpful for loading the crm.sql into the image.
Building the image
Don’t do this.
docker build -f DockerfileDbCi -t alistaircol/db-ci .
Multiple tags are allowed, might want to tag with date as well as latest, since this makes sense to be run daily, or even more frequently.
docker build -f DockerfileDbCi \
    -t alistaircol/db-ci:$(date '+%Y-%m-%d') \
    -t alistaircol/db-ci:latest \
    .
You can see they have been built.
docker images -a alistaircol/db-ci --format "{{.ID}}: {{.Repository}} {{.Tag}}"
81cc0956594b: alistaircol/db-ci 2020-12-08
81cc0956594b: alistaircol/db-ci latest
Testing the image
Testing the image contains fixture data, etc.:
docker container rm -f $(docker container ls -a -q --filter name=db_ci) 2>/dev/null
docker run --rm -p 3333:3306 --name db_ci -e MYSQL_ROOT_PASSWORD=password alistaircol/db-ci:latest
Open Datagrip or MySQL workbench, etc. for a quick sanity check to see the schema structure.
Creating a repository in registry for the image
The easiest way I think without messing with alternative registries is to publish onto dockerhub, where most things are.
You will need to create an account for this, and you are allowed one private repository. You only need to follow these steps once.
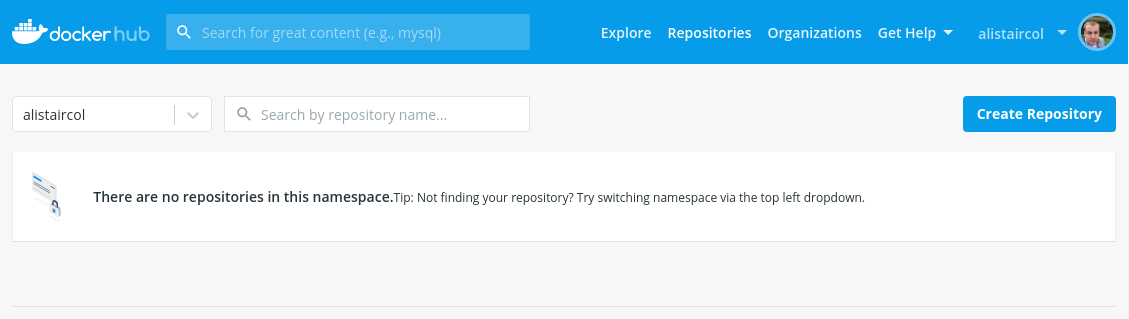
Click Create Repository.
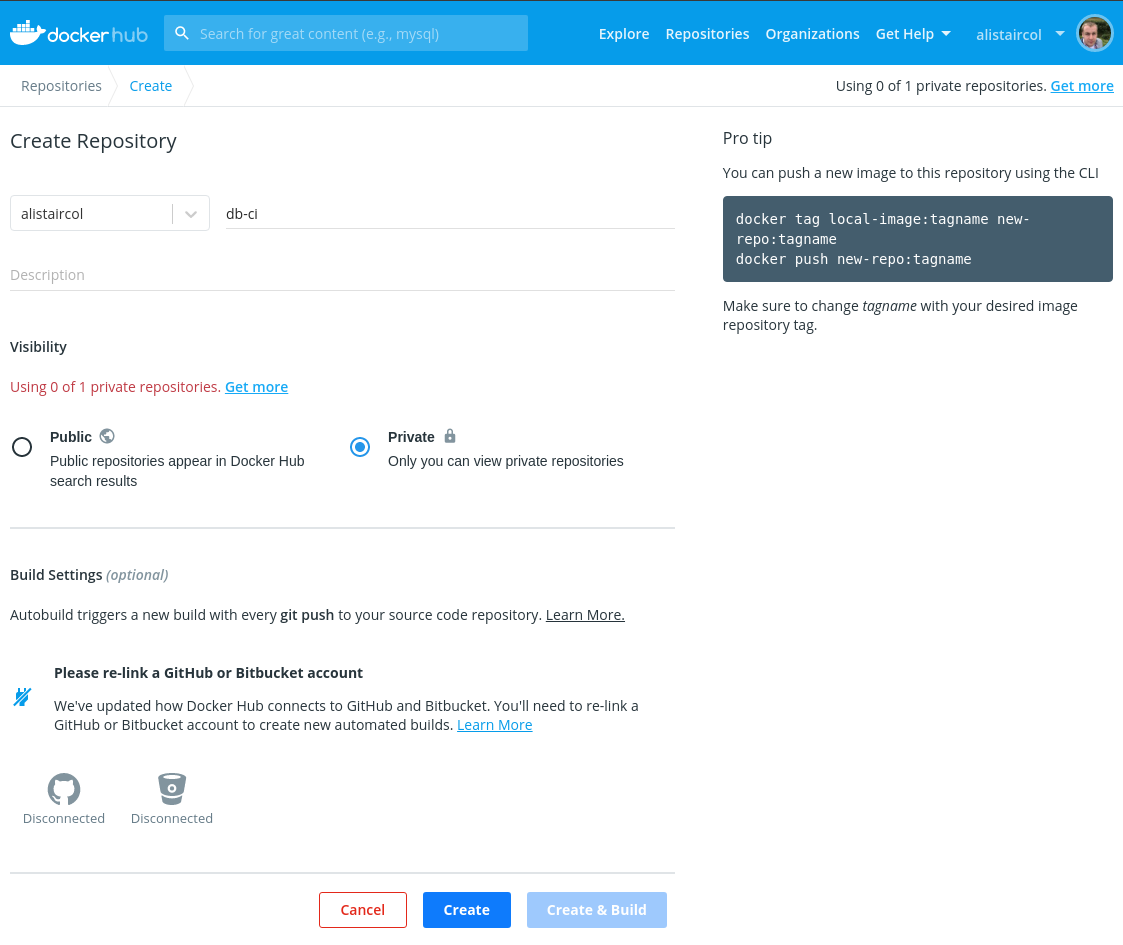
Fill out the repository name, i.e. the image name and optionally the description. Then click Create.
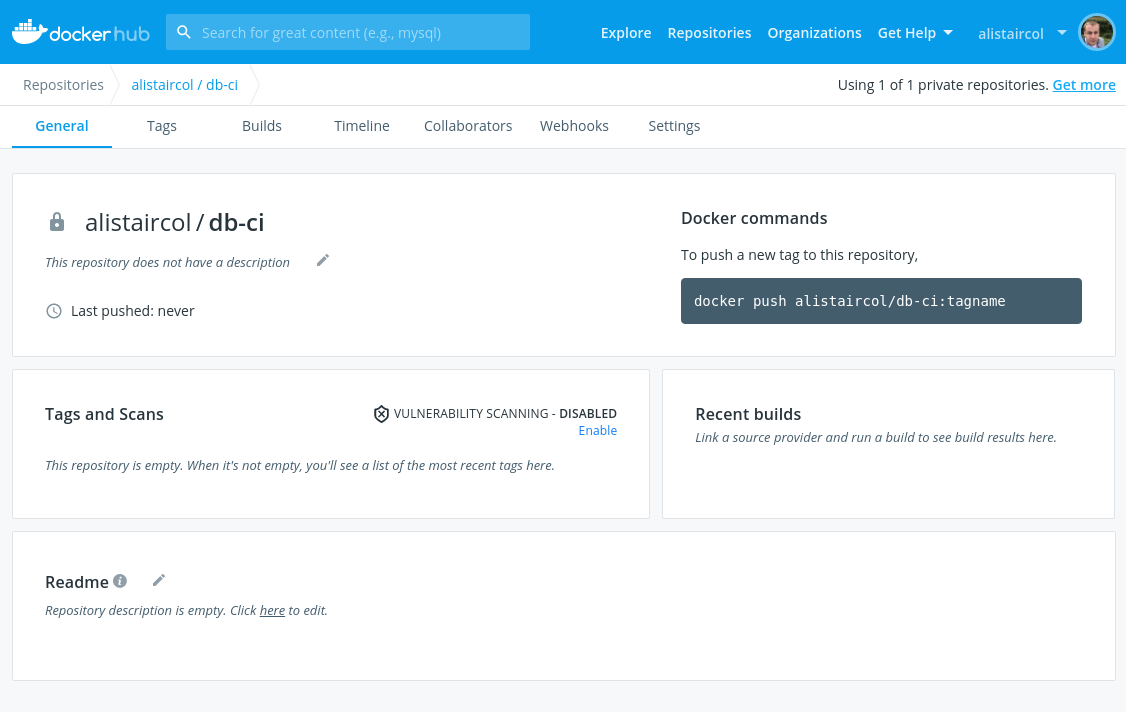
You’re now almost ready to push your built image to the registry.
Publishing the image
First you will need to authenticate yourself prior to docker push.
This simple command will ask for your password (this is the same one you use to login to dockerhub account) interactively, see man docker-login if you do not want this to be interactive.
docker login --username=alistaircol

Password:
WARNING! Your password will be stored unencrypted in /home/ally/.docker/config.json.
Configure a credential helper to remove this warning. See
https://docs.docker.com/engine/reference/commandline/login/#credentials-store
Login Succeeded
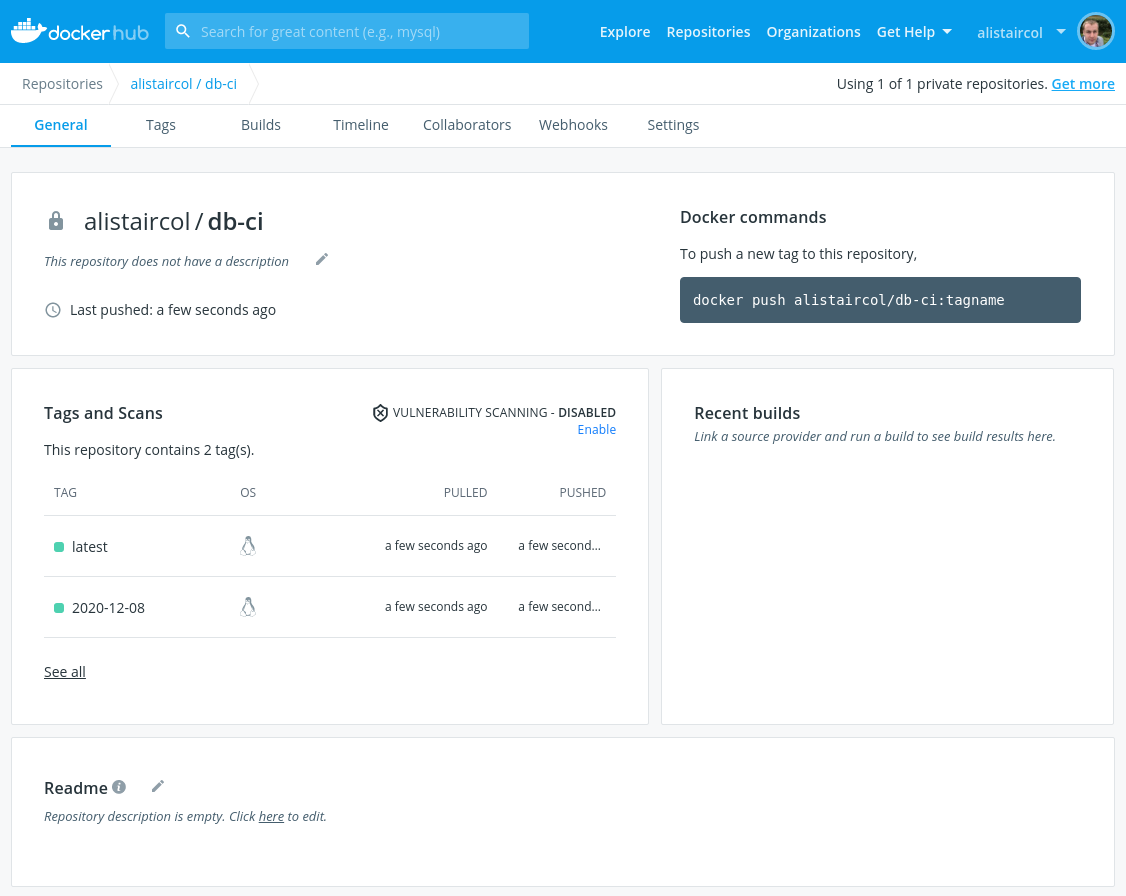
Now we will be able to push.
docker push alistaircol/db-ci
It might take some time.
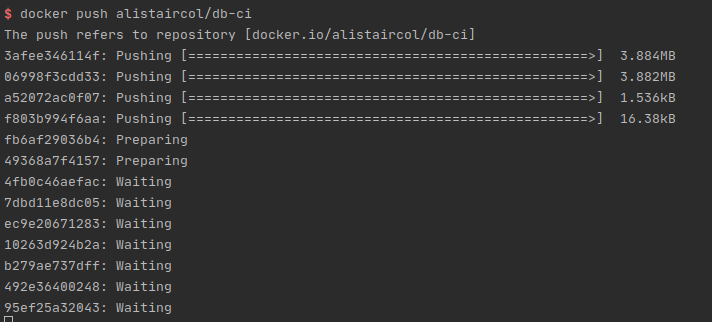
The image with its tags will be pushed, so no need to push twice with as many tags as you had to build.
Where you are building the image where it’s not ephemeral, I would recommend running the following command prior to build and push steps outlined above:
docker container rm -f $(docker container ls -a -q --filter name=db_ci) 2>/dev/null
Pulling the private image
If you’re on the same host that built and pushed the image, it’s easy enough to pull it down, we’re already authenticated from the earlier docker login.
This won’t work when pulling down in a CI pipeline from bitbucket pipeline, github actions, etc. though.
The process will be similar. Authenticate with the username and password for dockerhub, using the secret manager for those platforms CI pipeline.
Bitbucket
bitbucket-pipelines.yml example:
You can use secure variables to configure username and password variables, then add them to the image YAML configuration as shown below:
image:
  name: alistaircol/db-ci:latest
  username: $DOCKER_HUB_USERNAME
  password: $DOCKER_HUB_PASSWORD
  email: $DOCKER_HUB_EMAIL
Github
Github Action will be very similar, see example from Github blog.
Gitlab
Again this should be very similar, documentation here
I don’t have any authority or claim to be any sort of expert on this, it’s more of a reference to myself, but if it’s helpful to more than just myself, then great (dopamine stonks).