For local development there are a few services we might want to mock. I’ll walk through substituting some common services.
There are a few reasons you might want to do this:
- You don’t have the relevant credentials
- You don’t want to risk some the work you’re doing on local environment ever going out to the live services
TL;DR:
Mailhog
This is a really neat image. But basically (with the app configured correctly) any smtp mail sent from it will go into the mailbox provided by mailhog - regardless of the recipients addresses.
Alternatively you could use mailtrap if you don’t want to run this locally.
Laravel sail also comes with mailhog, so that might be an option for you.
docker-compose.yml:
version: '3.4'
services:
  mailhog:
    image: mailhog/mailhog:latest
    ports:
    - 1025:1025
    - 8025:8025
Configure your app to use 1025 (default smtp port), and you can go to 8025 in your browser to see the mailbox.

Integrating Mailhog into Laravel App
Laravel config:
.env:
 MAIL_MAILER=smtp
-MAIL_HOST=mailhog
+MAIL_HOST=0.0.0.0
 MAIL_PORT=1025
 MAIL_USERNAME=null
 MAIL_PASSWORD=null
 MAIL_ENCRYPTION=null
 MAIL_FROM_ADDRESS=null
 MAIL_FROM_NAME="${APP_NAME}"
Make a Mailable in Laravel:
php artisan make:mail --force --markdown=mail.mailhog-markdown MailhogMarkdownMail
Will create:
app/Mail/MailhogMarkdownMail.phpresources/view/mail/mailhog-markdown.blade.php
Make a Command to send the email:
php artisan make:command MailTest
app/Console/MailTest.php update the handle:
<?php

namespace App\Console\Commands;

use App\Mail\MailhogMarkdownMail;
use Illuminate\Console\Command;
use Illuminate\Support\Facades\Mail;

class MailTest extends Command
{
    protected $signature = 'mail:send';

    protected $description = 'Send an email';

    public function __construct()
    {
        parent::__construct();
    }

    public function handle()
    {
        $mail = (new MailhogMarkdownMail)
            ->from('[email protected]')
            ->subject('Email from app');

        Mail::to('[email protected]')
            ->send($mail);

        return 0;
    }
}
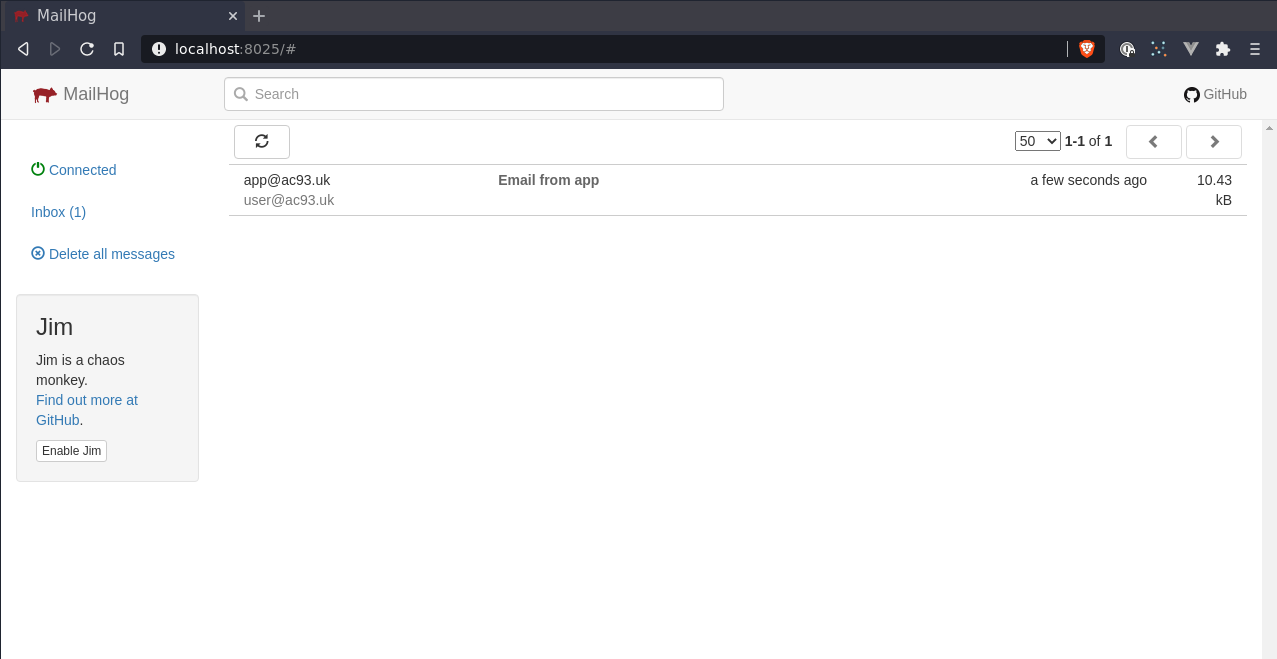
php artisan mail:send
Huzzah!

Minio
Minio is an S3 compatible provider for object storage. This could be a replacement if your app uses some S3 buckets, DO spaces, etc.
A free access token generator to replace minio/minio123:
head /dev/urandom | tr -dc A-Za-z0-9 | head -c16
head /dev/urandom | tr -dc A-Za-z0-9 | head -c60
version: "3.4"
services:
  minio:
    image: minio/minio:RELEASE.2021-02-19T04-38-02Z
    container_name: minio
    ports:
    - 9999:9000
    environment:
    # AWS_ACCESS_KEY_ID
    - MINIO_ROOT_USER=W3jV4BKyEjsnKwed
    # AWS_SECRET_ACCESS_KEY
    - MINIO_ROOT_PASSWORD=EePilp8wrzPO79MHcxRYbXuRh4OEaOA67LhJ9EQO70hkIDzDD5Igvjxwj0CT
    volumes:
    - minio:/data
    command: server /data

# you can remove this and provide a path if you want to easily explore on your local filesystem
volumes:
  minio:
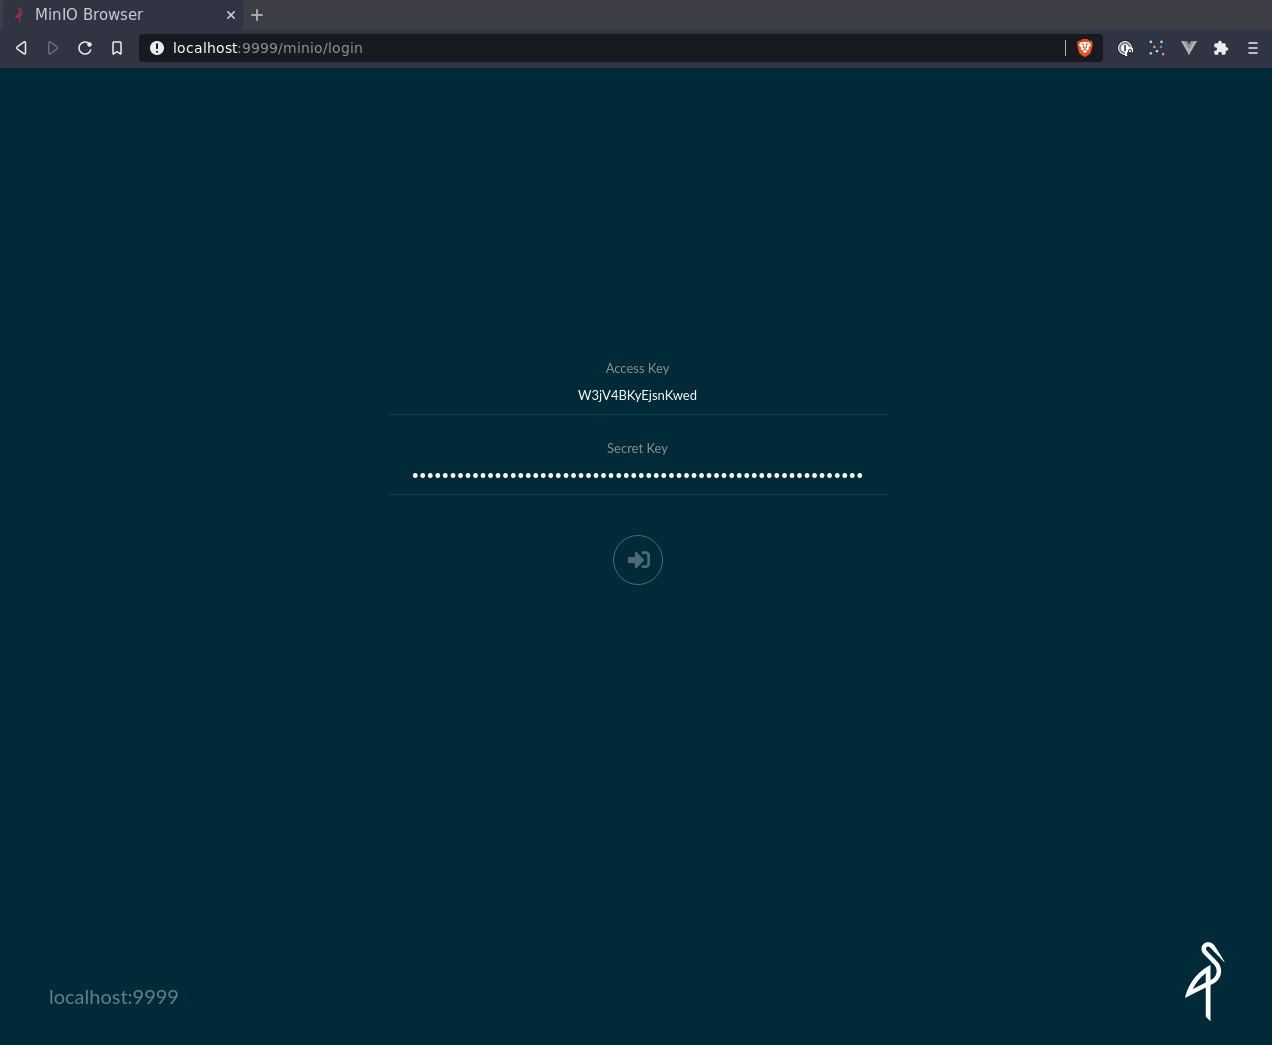
Run docker-compose up and then we’ll be able to configure a few buckets.
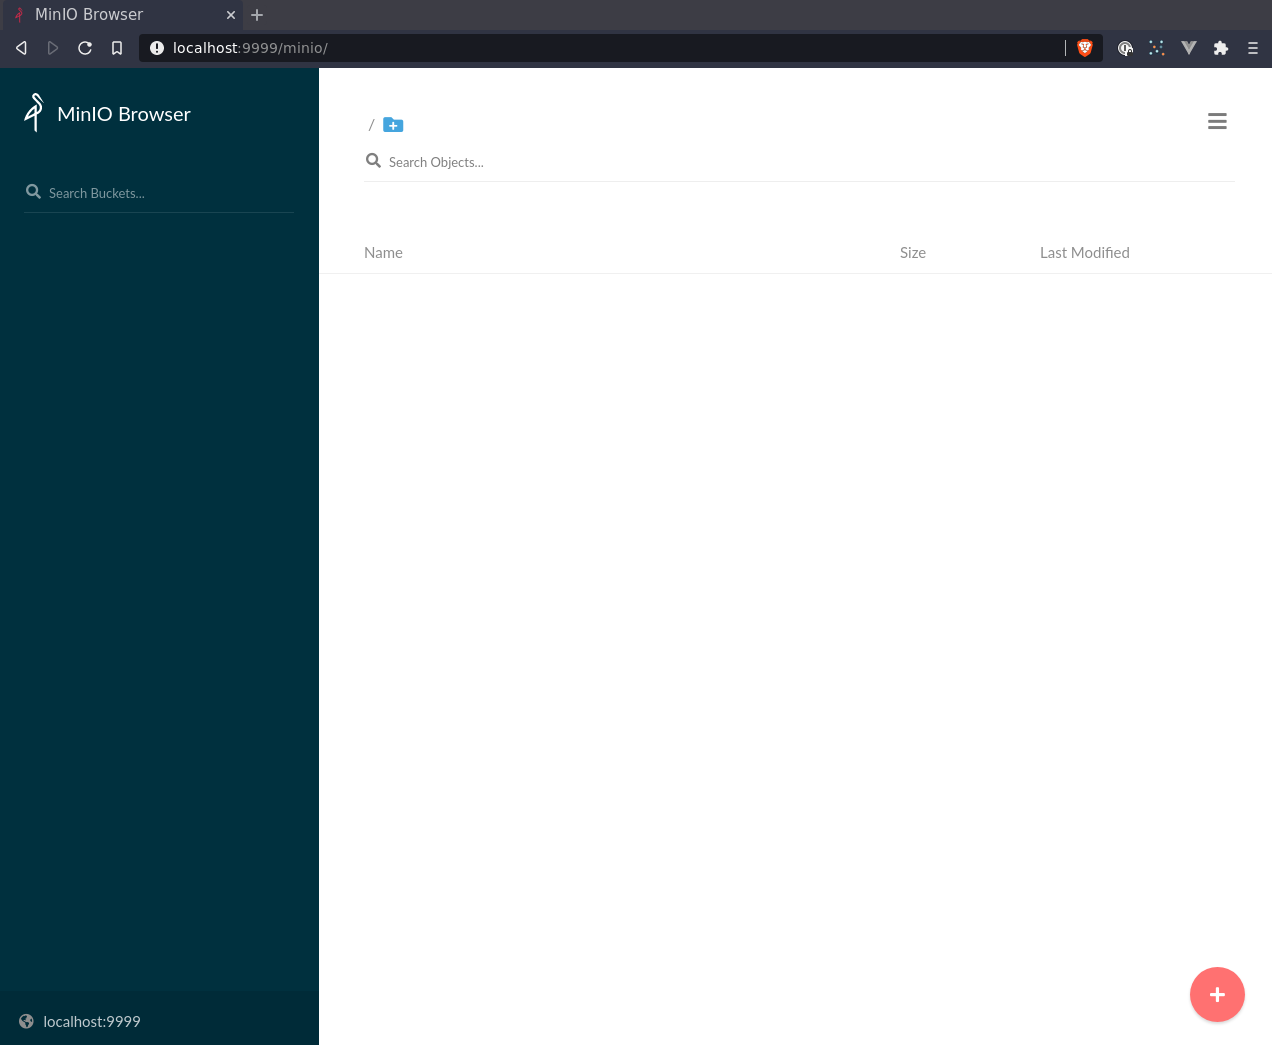
The + icon down the bottom is very easy to follow, so I won’t cover it here.
After the bucket has been created - you can start uploading through the client.

Minio Configuration with Terraform
You can skip this section if you only have one bucket to create, but this is how to use terraform to create your minio how you like, these can be shared between developers, and it takes just a minute to get up and running!
Thanks to aminueza/minio!
main.tf:
terraform {
  required_providers {
    minio = {
      source  = "aminueza/minio"
      version = ">= 1.0.0"
    }
  }
  required_version = ">= 0.13"
}

provider "minio" {
  minio_server     = var.minio_server
  minio_region     = var.minio_region
  minio_access_key = var.minio_access_key
  minio_secret_key = var.minio_secret_key
}
variables.tf:
variable "minio_region" {
  description = "Default MINIO region"
  default     = "us-east-1"
}

variable "minio_server" {
  description = "Default MINIO host and port"
  default     = "localhost:9000"
}

variable "minio_access_key" {
  description = "MINIO user"
  default     = "minio"
}

variable "minio_secret_key" {
  description = "MINIO secret user"
  default     = "minio123"
}
buckets.tf:
resource "minio_s3_bucket" "ac_website" {
bucket = "ac-website"
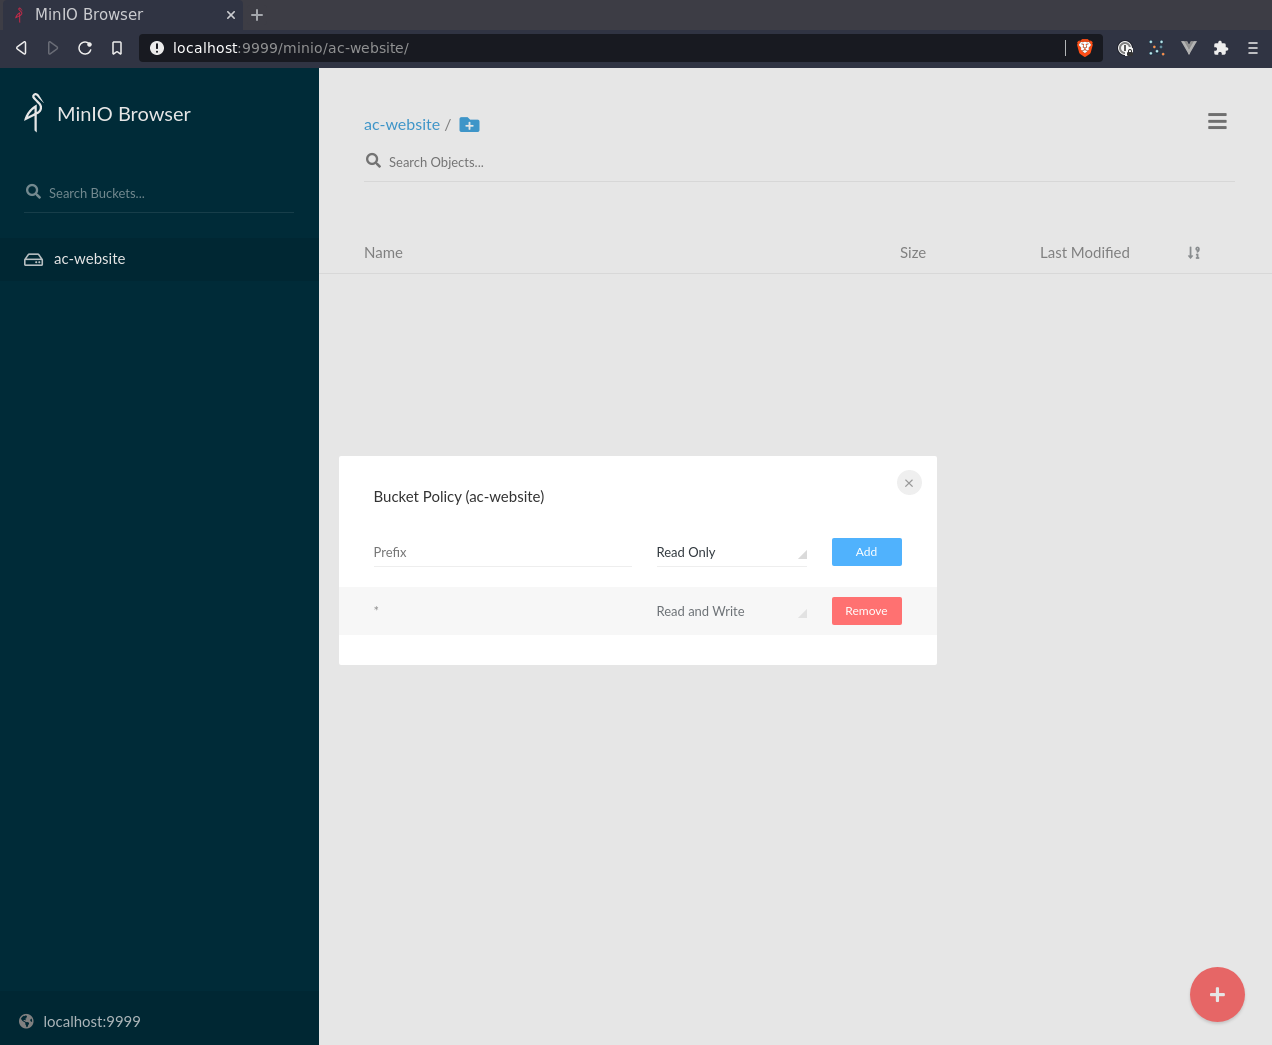
acl = "public"
}
outputs.tf:
output "ac_website_id" {
  value = minio_s3_bucket.ac_website.id
}

output "ac_website_url" {
  value = minio_s3_bucket.ac_website.bucket_domain_name
}
terraform.tfvars:
I’m going to override the default port here, since there’s going to be a conflict with graylog running on 9000.
Also I’ve updated the default access & secret keys.
You could easily add, for example, default_acl into variables.tf and use that in bucket.tf to make things more secure.
I am only using this for local development on a secure network not open to public and that’s the only environment I recommend running this.
minio_server     = "localhost:9999"
minio_access_key = "W3jV4BKyEjsnKwed"
minio_secret_key = "EePilp8wrzPO79MHcxRYbXuRh4OEaOA67LhJ9EQO70hkIDzDD5Igvjxwj0CT"
Gist: https://gist.github.com/alistaircol/b7bff7690d629e3fb69905b8b177b87a
Make the bucket:
- Lint/format (not strictly required step)
terraform fmt
- Install required providers
terraform init
$ terraform init

Initializing the backend...

Initializing provider plugins...
- Finding aminueza/minio versions matching ">= 1.0.0"...
- Installing aminueza/minio v1.2.0...
- Installed aminueza/minio v1.2.0 (self-signed, key ID 3FD1ADE55BB3D907)

Partner and community providers are signed by their developers.
If you'd like to know more about provider signing, you can read about it here:
https://www.terraform.io/docs/cli/plugins/signing.html

Terraform has created a lock file .terraform.lock.hcl to record the provider
selections it made above. Include this file in your version control repository
so that Terraform can guarantee to make the same selections by default when
you run "terraform init" in the future.

Terraform has been successfully initialized!

You may now begin working with Terraform. Try running "terraform plan" to see
any changes that are required for your infrastructure. All Terraform commands
should now work.

If you ever set or change modules or backend configuration for Terraform,
rerun this command to reinitialize your working directory. If you forget, other
commands will detect it and remind you to do so if necessary.
- Query the service(s) and see what needs to change
terraform plan
$ terraform plan

An execution plan has been generated and is shown below.
Resource actions are indicated with the following symbols:
  + create

Terraform will perform the following actions:

  # minio_s3_bucket.ac_website will be created
  + resource "minio_s3_bucket" "ac_website" {
      + acl                = "public"
      + bucket             = "ac-website"
      + bucket_domain_name = (known after apply)
      + force_destroy      = false
      + id                 = (known after apply)
    }

Plan: 1 to add, 0 to change, 0 to destroy.

Changes to Outputs:
  + ac_website_id  = (known after apply)
  + ac_website_url = (known after apply)

------------------------------------------------------------------------

Note: You didn't specify an "-out" parameter to save this plan, so Terraform
can't guarantee that exactly these actions will be performed if
"terraform apply" is subsequently run.
- Create the bucket
terraform apply -auto-approve
$ terraform apply -auto-approve
minio_s3_bucket.ac_website: Creating...
minio_s3_bucket.ac_website: Creation complete after 0s [id=ac-website]

Apply complete! Resources: 1 added, 0 changed, 0 destroyed.

Outputs:

ac_website_id = "ac-website"
ac_website_url = "http://localhost:9999/minio/ac-website"
Afterwards you can see the bucket has been created!

Integrating Minio into Laravel App
Laravel .env changes - the region doesn’t really matter in this simple example.
FILESYSTEM_DRIVER=s3
AWS_ACCESS_KEY_ID=W3jV4BKyEjsnKwed
AWS_SECRET_ACCESS_KEY=EePilp8wrzPO79MHcxRYbXuRh4OEaOA67LhJ9EQO70hkIDzDD5Igvjxwj0CT
AWS_DEFAULT_REGION=us-east-1
AWS_BUCKET=ac-website
AWS_ENDPOINT=http://192.168.1.6:9999
AWS_ENDPOINT is the LAN IP the minio container is running on.
We need to install a S3 client:
league/flysystem-aws-s3-v3 ~1.0
A test Command to upload from stdin:
php artisan make:command MinioUploadFromStdin
app/Console/Command/MinioUploadFromStdin.php:
<?php

namespace App\Console\Commands;

use Illuminate\Console\Command;
use Illuminate\Support\Facades\Storage;

class MinioUploadFromStdin extends Command
{
    protected $signature = 'file:upload {file_name}';

    protected $description = 'Upload a file from stdin';

    public function __construct()
    {
        parent::__construct();
    }

    public function handle()
    {
        // https://gist.github.com/sroze/3e8d45d0cdc301debfd2#gistcomment-3085650
        $readStreams   = [STDIN];
        $writeStreams  = [];
        $exceptStreams = [];
        $streamCount   = stream_select(
            $readStreams,
            $writeStreams,
            $exceptStreams,
            0
        );

        $hasStdIn = $streamCount === 1;

        if (!$hasStdIn) {
            $this->line('Pleas pass some stdin in');
            return 1;
        }

        Storage::put(
            $this->argument('file_name'),
            file_get_contents('php://stdin'),
            'public'
        );

        return 0;
    }
}
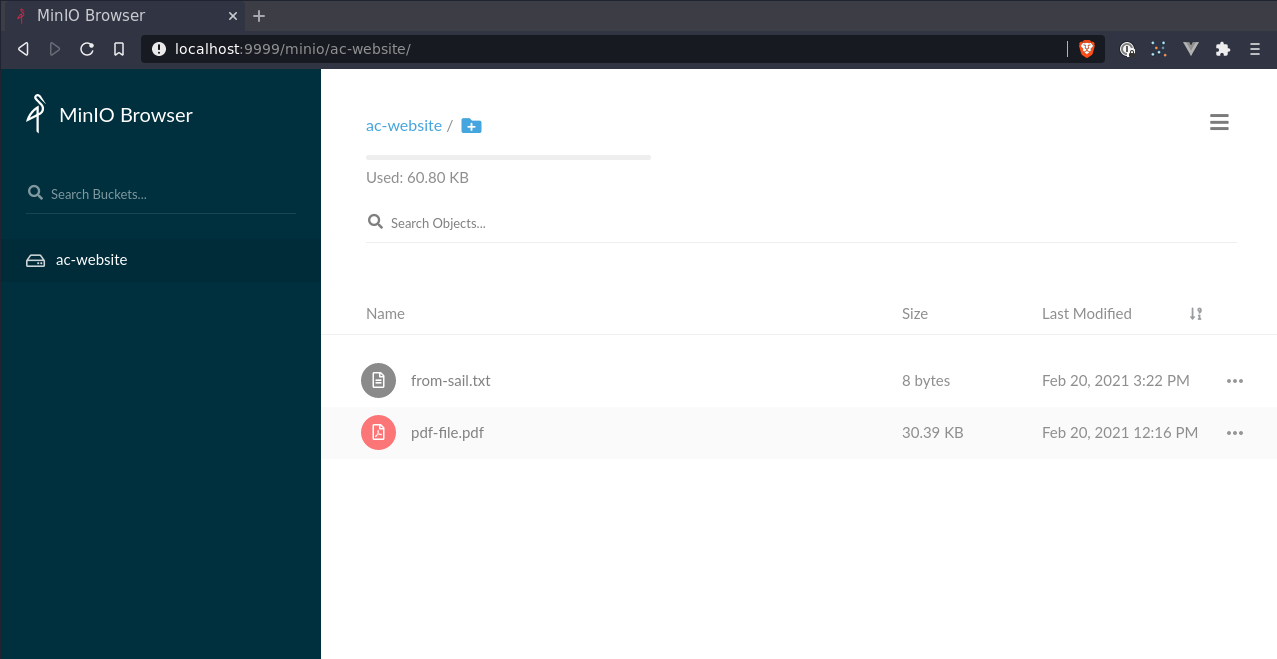
Usages:
# in container
echo 'blah' > file
php artisan file:upload from-sail.txt < file
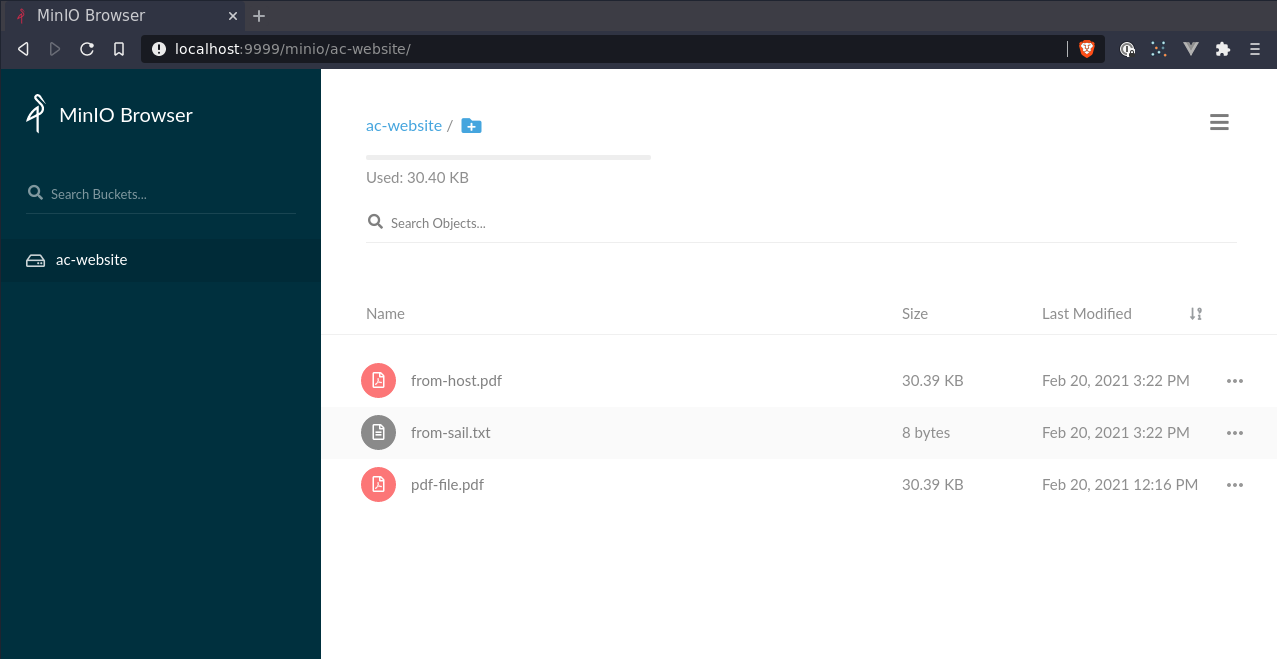
Alternatively upload a file from host without adding volume. Unfortunately can’t add any args into sail
$ docker-compose images
WARNING: The WWWGROUP variable is not set. Defaulting to a blank string.
WARNING: The WWWUSER variable is not set. Defaulting to a blank string.
       Container            Repository       Tag       Image Id       Size
----------------------------------------------------------------------------
sail-app_laravel.test_1   sail-8.0/app      latest   a42b70d4d704   714.6 MB
sail-app_mailhog_1        mailhog/mailhog   latest   4de68494cd0d   392 MB
sail-app_mysql_1          mysql             8.0      dd7265748b5d   545.3 MB
sail-app_redis_1          redis             alpine   933c79ea2511   31.63 MB
docker container exec -i -u sail \
    sail-app_laravel.test_1 \
    bash -c "php artisan file:upload from-host.pdf" < ~/website-preview.pdf
Graylog
Alternatively you could install laravel/telescope which has some logging functionality, but this would need to be on a per application installation and configuration which might not be ideal if you have more than one application (e.g. website, backend and API).
version: '3.4'
services:
  mongo:
    image: mongo:3
    volumes:
    - mongo_data:/data/db
    networks:
    - graylog

  elasticsearch:
    image: docker.elastic.co/elasticsearch/elasticsearch-oss:6.8.5
    volumes:
    - es_data:/usr/share/elasticsearch/data
    environment:
    - http.host=0.0.0.0
    - transport.host=localhost
    - network.host=0.0.0.0
    - ES_JAVA_OPTS=-Xms512m -Xmx512m
    networks:
    - graylog

  graylog:
    image: graylog/graylog:3.3
    container_name: twindig_graylog
    volumes:
    - graylog_journal:/usr/share/graylog/data/journal
    environment:
    # CHANGE ME (must be at least 16 characters)!
    - GRAYLOG_PASSWORD_SECRET=fNHRWw7tUUUE5Mnv
    # Password: fNHRWw7tUUUE5Mnv
    - GRAYLOG_ROOT_PASSWORD_SHA2=432fc5c862c24d97b38fb8cca142de0b57693a76a08051d8fc702d909520786e
    - GRAYLOG_HTTP_EXTERNAL_URI=http://127.0.0.1:9000/
    networks:
    - graylog
    depends_on:
    - mongo
    - elasticsearch
    ports:
    # Graylog web interface and REST API
    - 9000:9000
    # GELF UDP
    - 12201:12201/udp
    # syslog UDP
    - 514:514/udp

# you can remove this and provide a path if you want to easily explore on your local filesystem
volumes:
  mongo_data:
  es_data:
  graylog_journal:

networks:
  graylog:
TODO: screenshots
TODO: terraform configuration
Graylog Configuration with Terraform
Not required, it’s as easy as:
- Login
- System
- Inputs
- Select Input (Syslog UDP)
- Launch new input
- Check global (docker node name might change between restarts)
- Give a title
- Save
That’s pretty much it. You can make it do more, but for now that’s enough for us to see logs coming in on the Search page.
main.tf:
terraform {
  required_providers {
    graylog = {
      source  = "terraform-provider-graylog/graylog"
      version = "1.0.4"
    }
  }
}

provider "graylog" {
  web_endpoint_uri = "http://localhost:9000/api"
  auth_name        = "admin"
  auth_password    = ""
  api_version      = "v3"
}
variables.tf:
variable "graylog_web_endpoint_uri" {
  description = "Graylog API endpoint"
  default     = "http://localhost:9000"
}

variable "graylog_api_version" {
  description = "API version for graylog"
  default     = "v3"
}

variable "graylog_auth_name" {
  description = "Username or API token or Session Token"
  default     = "admin"
}

variable "graylog_auth_password" {
  description = "Password or the literal \"token\" or \"session\""
  default     = "password"
}
inputs.tf:
resource "graylog_input" "syslog_udp" {
  title = "syslog"
  type   = "org.graylog2.inputs.syslog.udp.SyslogUDPInput"
  global = true

  attributes = jsonencode({
    bind_address          = "0.0.0.0"
    port                  = 514
    recv_buffer_size      = 262144
    decompress_size_limit = 8388608
  })
}
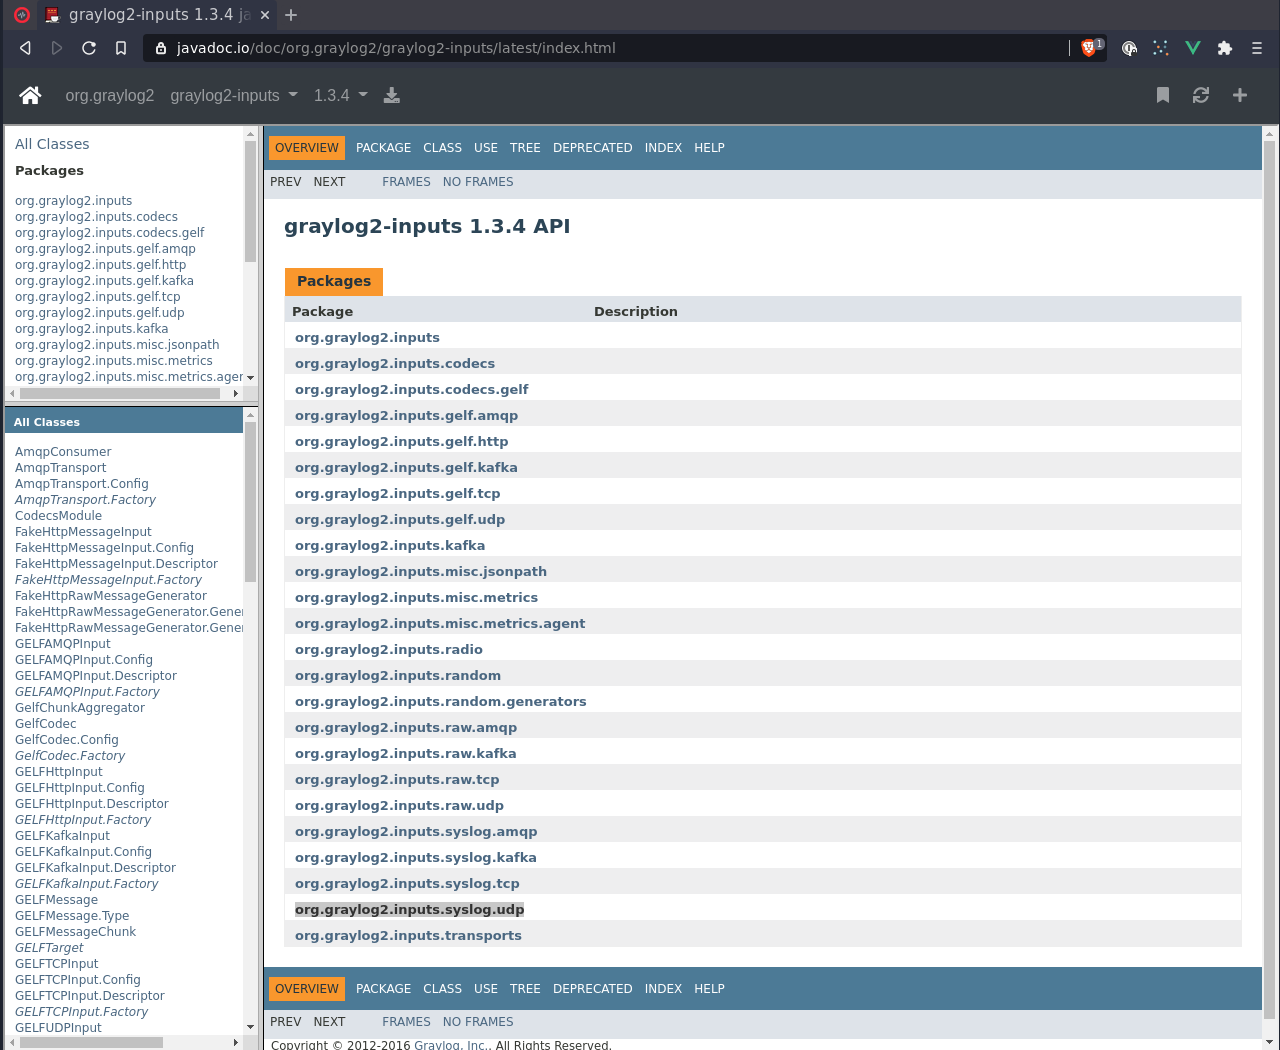
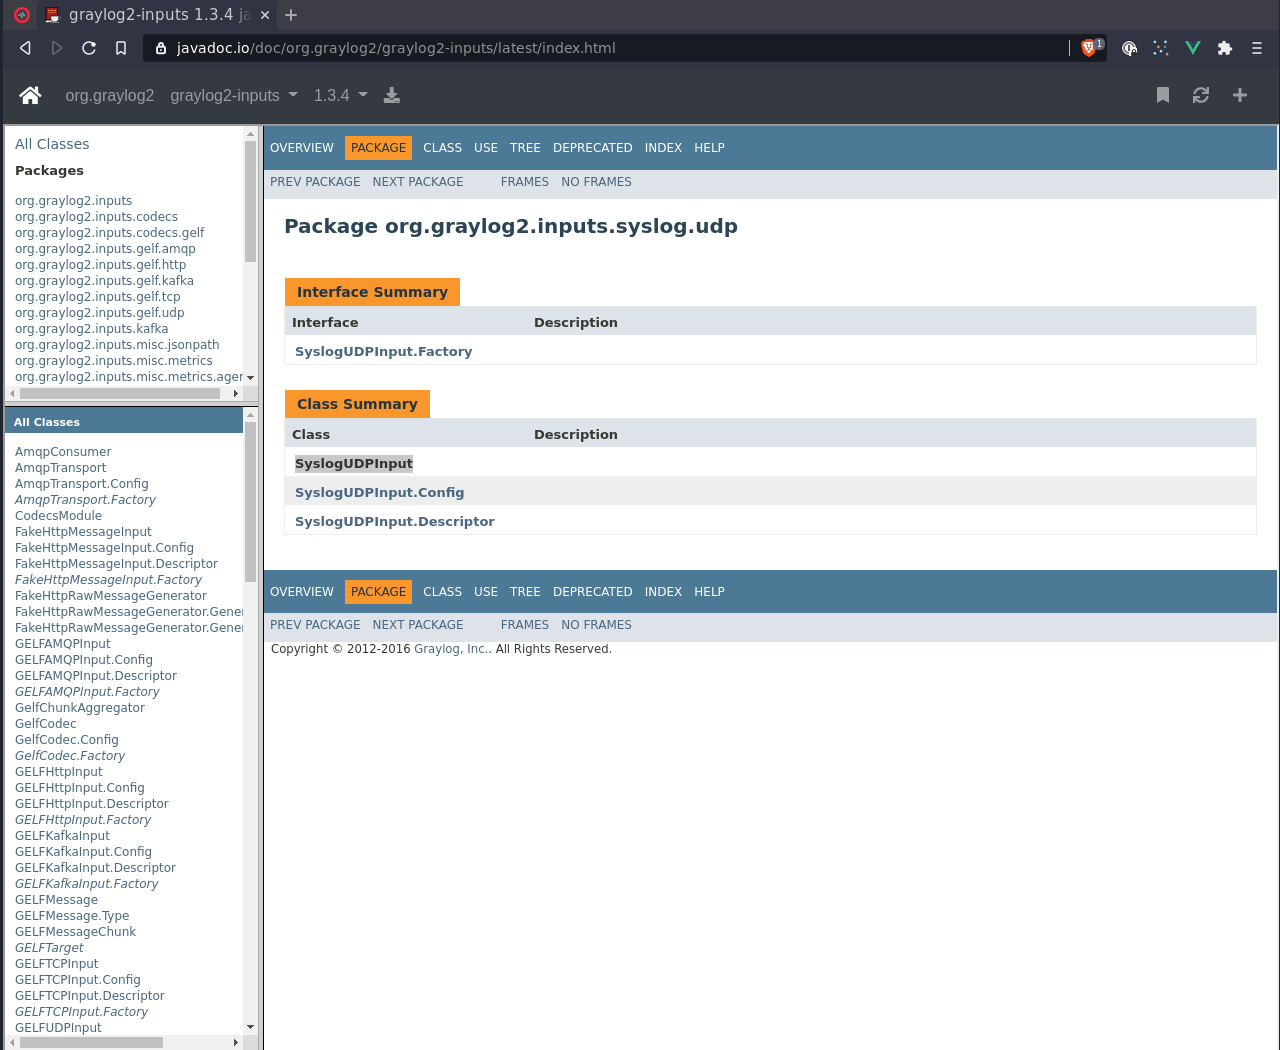
For the input type go to https://javadoc.io/doc/org.graylog2/graylog2-inputs/latest/index.html and find the package that looks most like what you want to use then select the class name.
terraform.tfvars:
graylog_auth_password    = "fNHRWw7tUUUE5Mnv"
graylog_web_endpoint_uri = "http://localhost:9000"
Gist: https://gist.github.com/alistaircol/bfbf6a04e9e58857037c0efda77ef87e
- Lint/format (not strictly required step)
terraform fmt
- Lint/format (not strictly required step)
terraform init
$ terraform init

Initializing the backend...

Initializing provider plugins...
- Finding terraform-provider-graylog/graylog versions matching "1.0.4"...
- Installing terraform-provider-graylog/graylog v1.0.4...
- Installed terraform-provider-graylog/graylog v1.0.4 (self-signed, key ID DB205F1CE2708DF8)

Partner and community providers are signed by their developers.
If you'd like to know more about provider signing, you can read about it here:
https://www.terraform.io/docs/cli/plugins/signing.html

Terraform has created a lock file .terraform.lock.hcl to record the provider
selections it made above. Include this file in your version control repository
so that Terraform can guarantee to make the same selections by default when
you run "terraform init" in the future.

Terraform has been successfully initialized!

You may now begin working with Terraform. Try running "terraform plan" to see
any changes that are required for your infrastructure. All Terraform commands
should now work.

If you ever set or change modules or backend configuration for Terraform,
rerun this command to reinitialize your working directory. If you forget, other
commands will detect it and remind you to do so if necessary.
- Query the service(s) and see what needs to change
terraform plan
$ terraform plan

An execution plan has been generated and is shown below.
Resource actions are indicated with the following symbols:
  + create

Terraform will perform the following actions:

  # graylog_input.syslog_udp will be created
  + resource "graylog_input" "syslog_udp" {
      + attributes      = jsonencode(
            {
              + bind_address          = "0.0.0.0"
              + decompress_size_limit = 8388608
              + port                  = 514
              + recv_buffer_size      = 262144
            }
        )
      + created_at      = (known after apply)
      + creator_user_id = (known after apply)
      + global          = true
      + id              = (known after apply)
      + title           = "syslog"
      + type            = "org.graylog2.inputs.syslog.udp.SyslogUDPInput"
    }

Plan: 1 to add, 0 to change, 0 to destroy.

------------------------------------------------------------------------

Note: You didn't specify an "-out" parameter to save this plan, so Terraform
can't guarantee that exactly these actions will be performed if
"terraform apply" is subsequently run.
- Create syslog input
terraform apply -auto-approve
$ terraform apply -auto-approve
graylog_input.syslog_udp: Creating...
graylog_input.syslog_udp: Creation complete after 0s [id=603137b658f05044e98222e2]

Apply complete! Resources: 1 added, 0 changed, 0 destroyed.
Integrating Graylog into Laravel App
This is easy - papertrail is already preset in config/logging.php.
.env:
-LOG_CHANNEL=stack
+LOG_CHANNEL=papertrail
 LOG_LEVEL=debug
+PAPERTRAIL_URL=192.168.1.6
+PAPERTRAIL_PORT=514
Again, this is LAN IP of the target host.
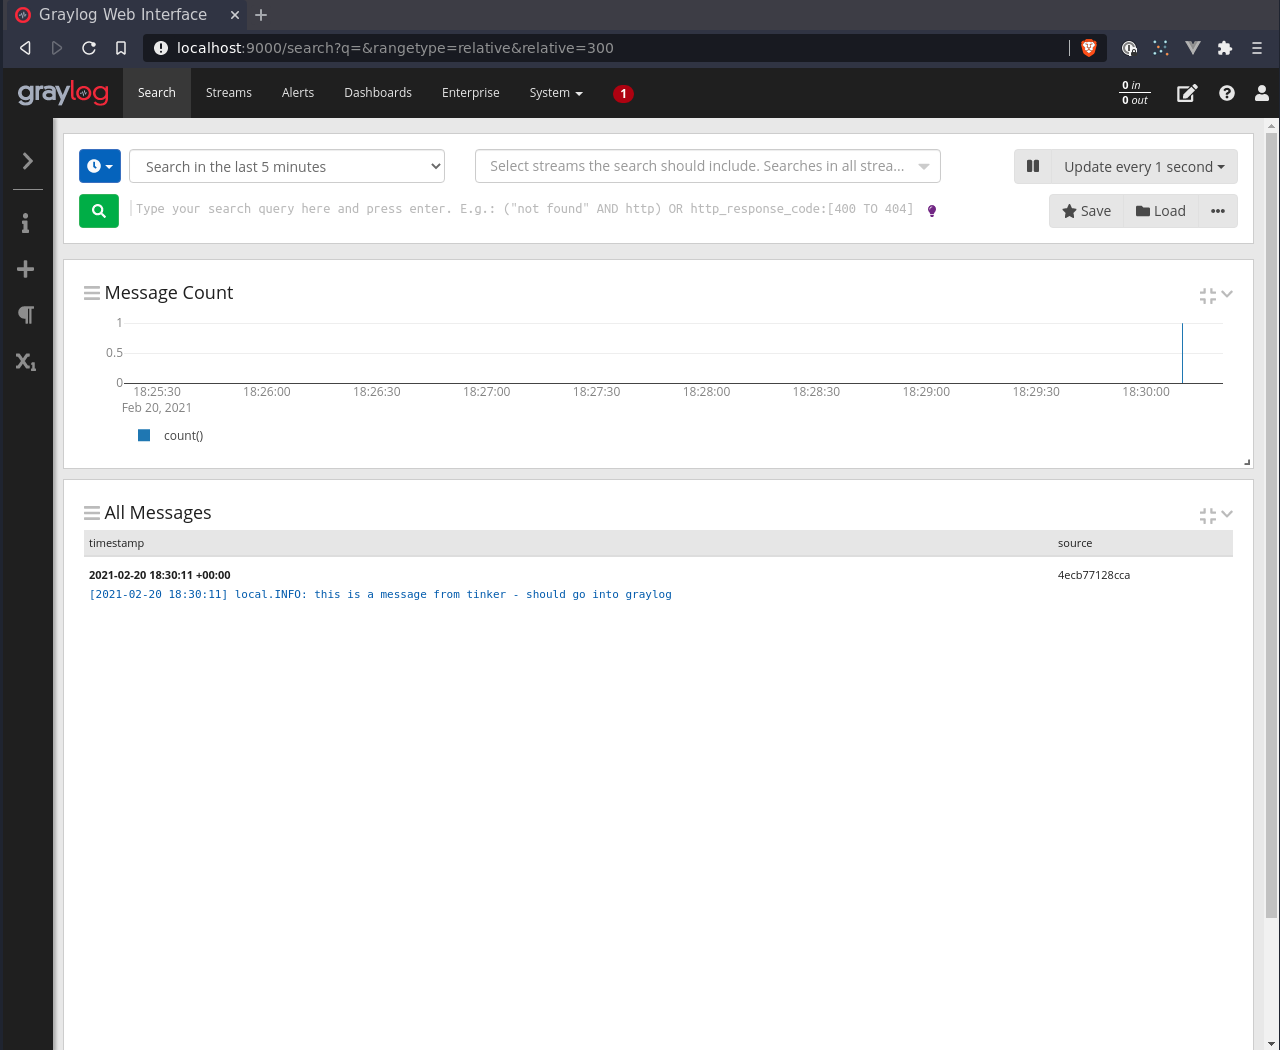
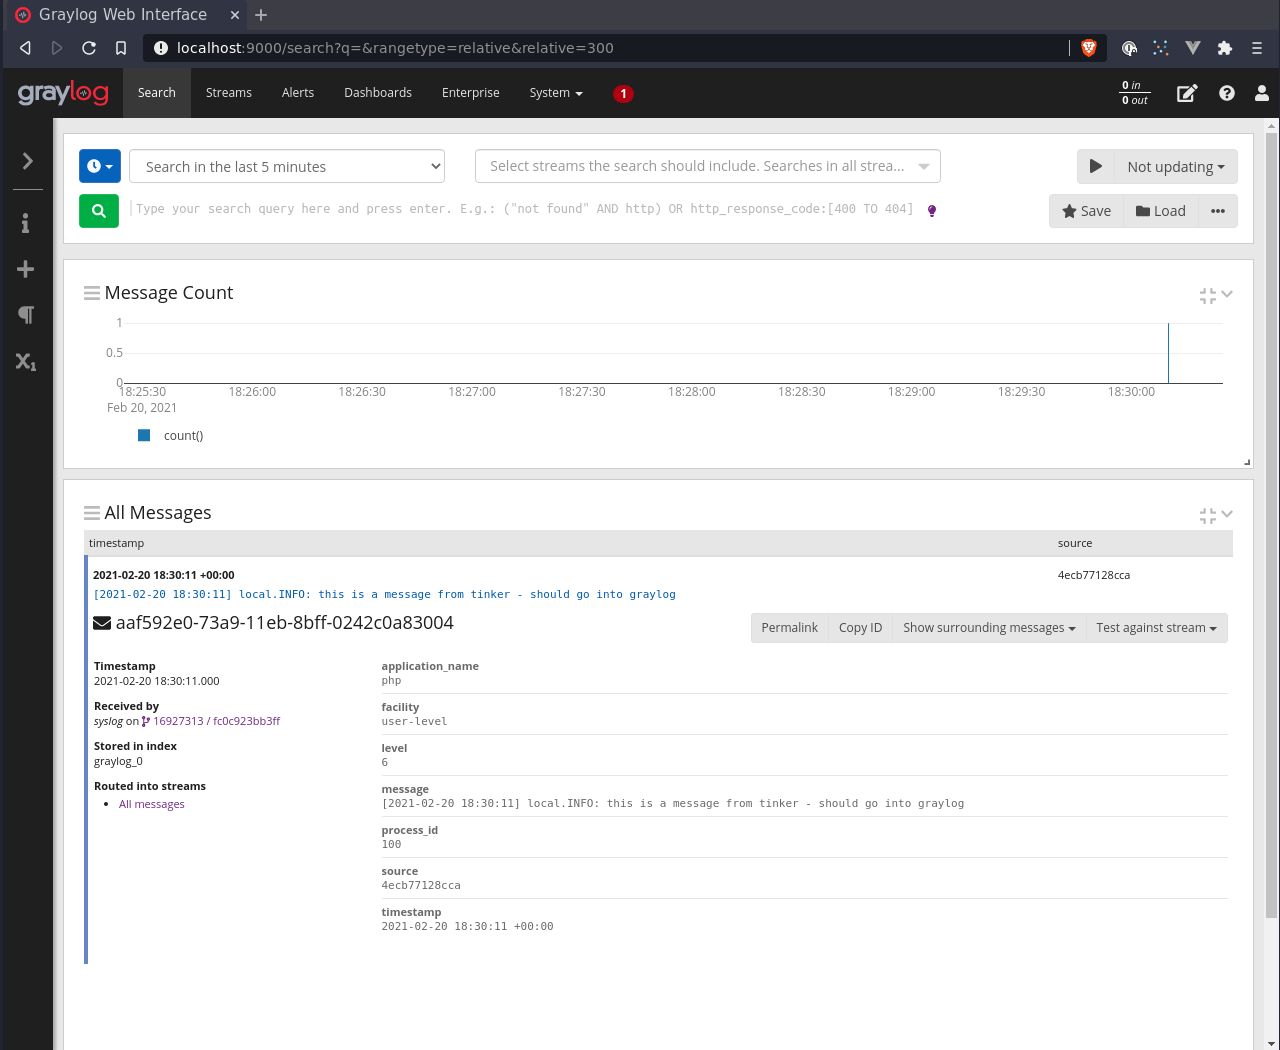
sail@4ecb77128cca:/var/www/html$ php artisan tinker
Psy Shell v0.10.6 (PHP 8.0.1 — cli) by Justin Hileman
>>> Log::info('this is a message from tinker - should go into graylog');
=> null
>>> exit
You can dig into monolog source and override settings such as the application_name, etc.
To do the above, you can set ident, e.g.:
config/logging.php:
'graylog' => [
    'driver' => 'monolog',
    'level' => 'debug',
    'handler' => SyslogUdpHandler::class,
    'handler_with' => [
        'host' => env('PAPERTRAIL_URL'),
        'port' => env('PAPERTRAIL_PORT'),
        'ident' => \Illuminate\Support\Str::slug(env('APP_NAME')),
    ],
],